
*This page has affiliate links to Amazon. As an Amazon Associate I earn from qualifying purchases. (info)
Waxed flesh leather has a special look and feel. This type of leather is tough, water-resistant, and develops character with age, but it needs its own care routine. Using regular shoe creams or smooth-leather products can damage it.
This guide explains step by step how to re-wax waxed flesh leather boots. You can scroll down on the page to see my steps I use, but first, below is a list of what I think are essential care items for waxed flesh boots.
These are the products I use to clean and wax my waxed flesh boots:
- To Brush Cobbler’s Choice Horse Hair Brush (click here to view)
- To Brush Welt Cobbler’s Choice Welt Brush (click here to view)
- To Clean Welt Bickmore Saddle Soap (click here to view)
- To Re-wax Boot Rochester Premium Dubbin Wax (click here to view)
As I will explain later, there are other wax products you can use, but using Dubbin just makes it so much easier to re-wax waxed flesh boots. I use the horse-hair welt brush listed above, but you can always just use a toothbrush to clean the welt area. However, a sturdy horse-hair brush is a good thing to have on hand, not only to clean the boots, but to help buff and polish the wax after application.
Step by Step Table On How to Care for Waxed Flesh Boots
| Overview | Description |
|---|---|
| 1. Remove laces | Take laces out to reach the tongue and prevent buildup around eyelets |
| 2. Brush boots | Use a horsehair brush to clear dirt and dust from the surface and creases |
| 3. Clean welt | Use a stiffer brush, toothbrush, or horsehair toothbrush to reach tight folds |
| 4. Spot clean | Remove stubborn stains with a suede eraser or crepe block |
| 5. Clean welt/sole edges | Apply a little saddle soap with a damp rag to refresh smooth leather parts |
| 6. Apply Dubbin wax | Rub in generously with fingers for deep conditioning and protection |
| 7. Condition welt | Treat welt and sole edges with Dubbin or clear cream to prevent cracking |
| 8. Buff and brush | Use a clean horsehair brush or cloth to even out the finish and add shine |
| 9. Relace boots | Put laces back in to finish the process and prepare the boots for wear |
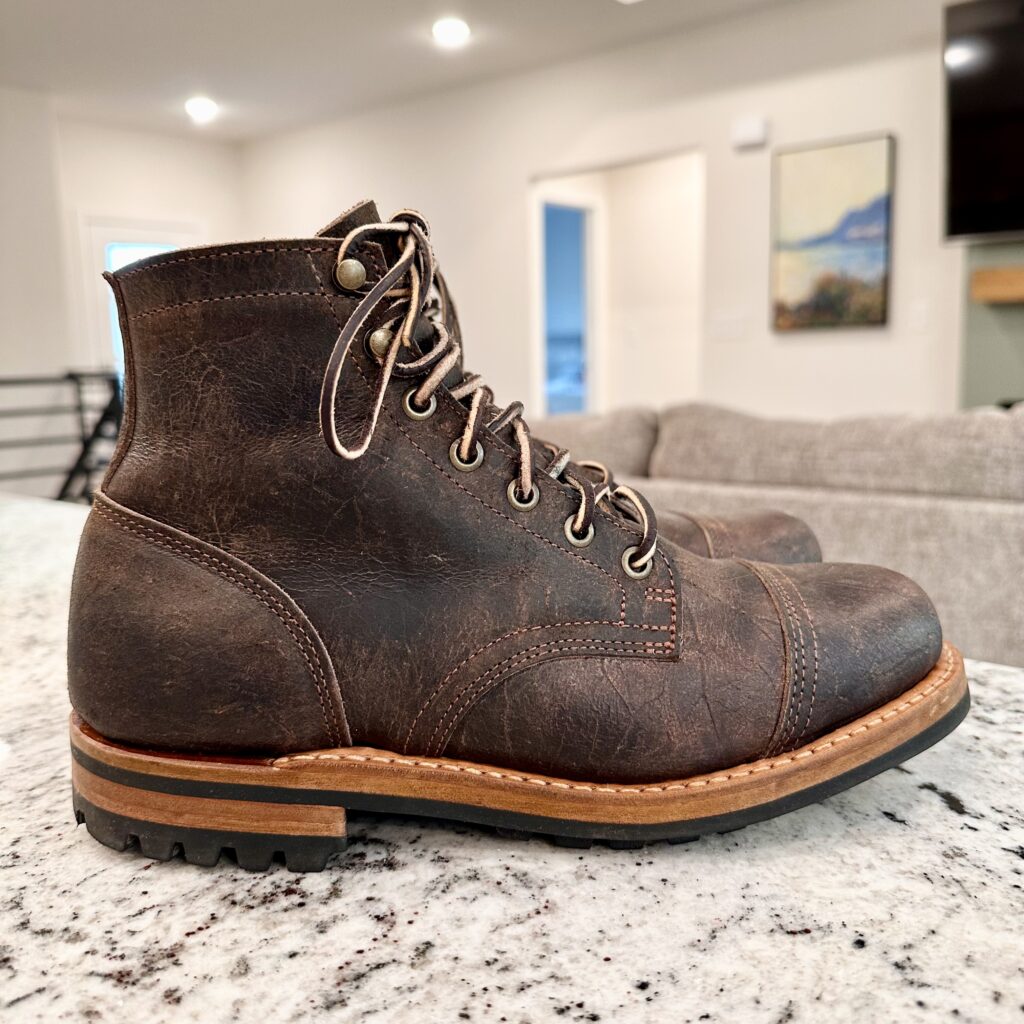
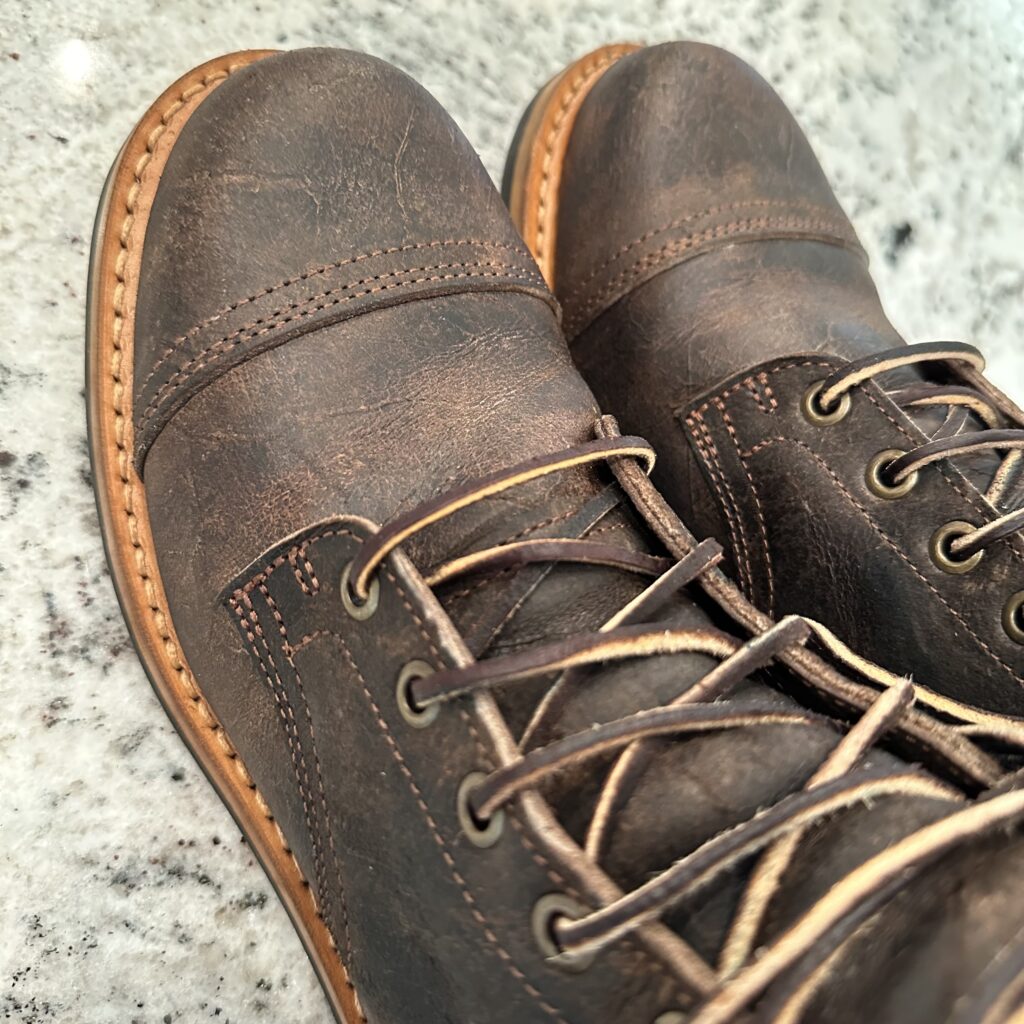
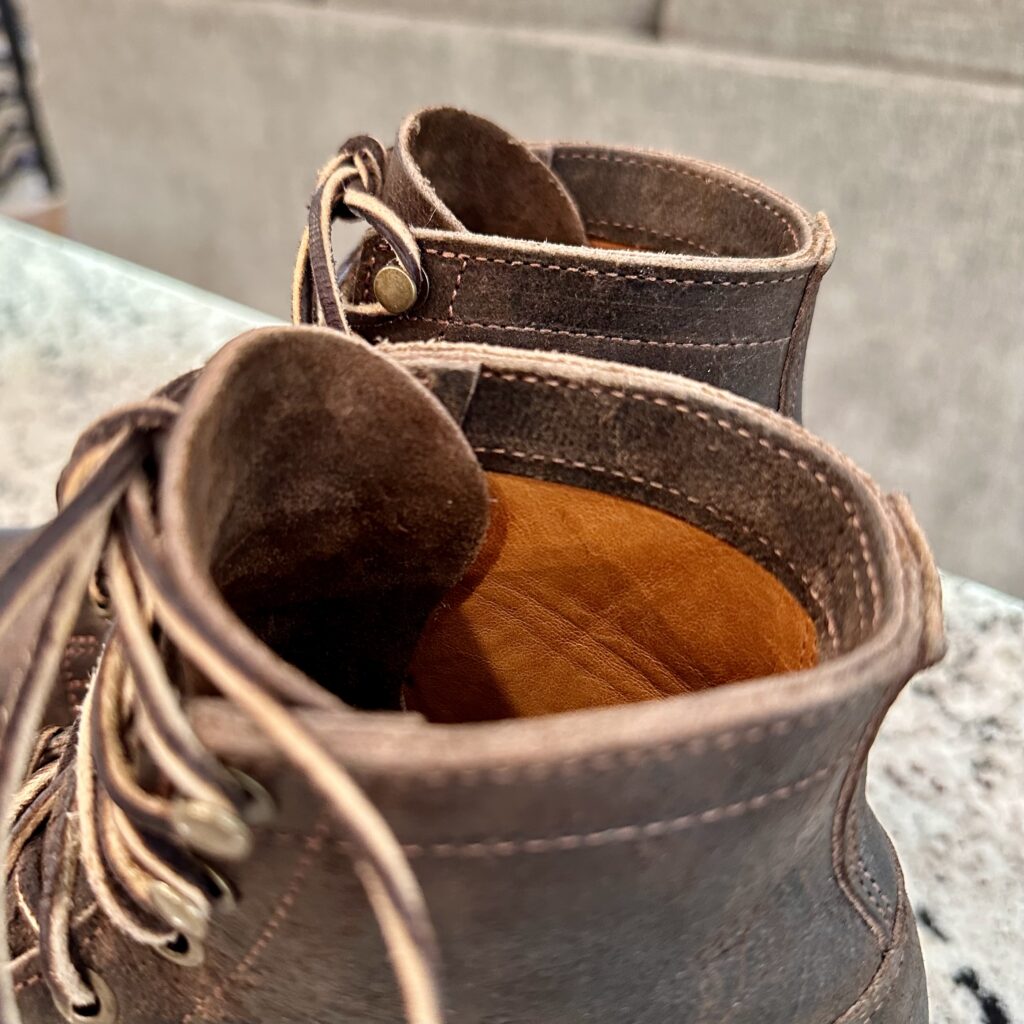
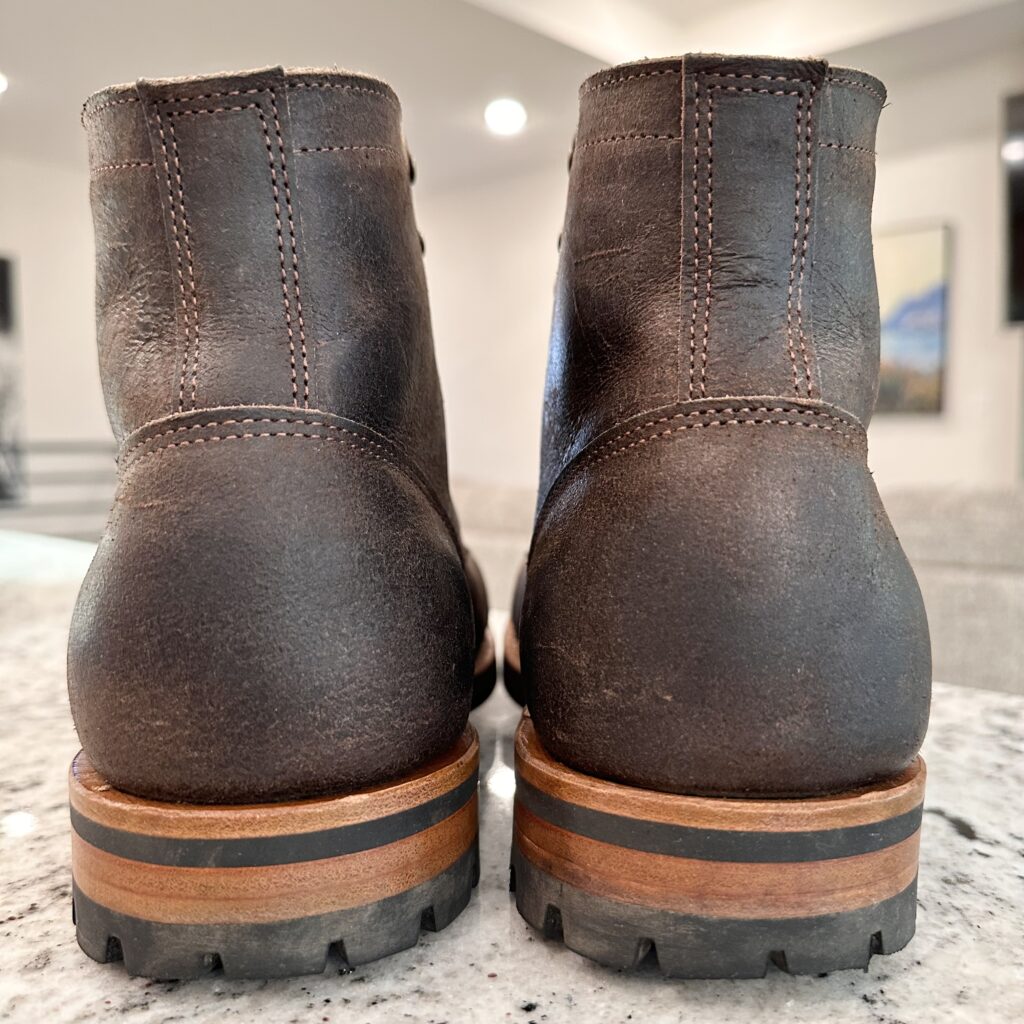
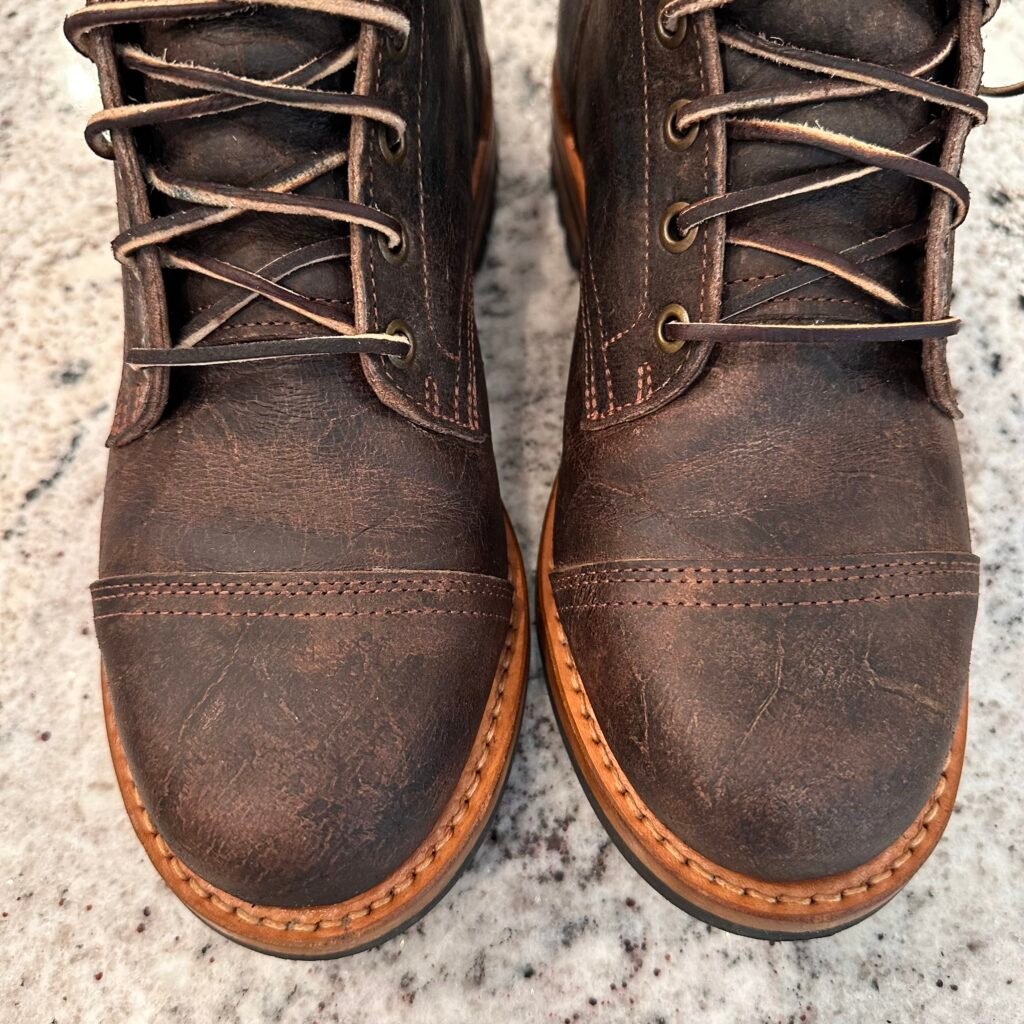
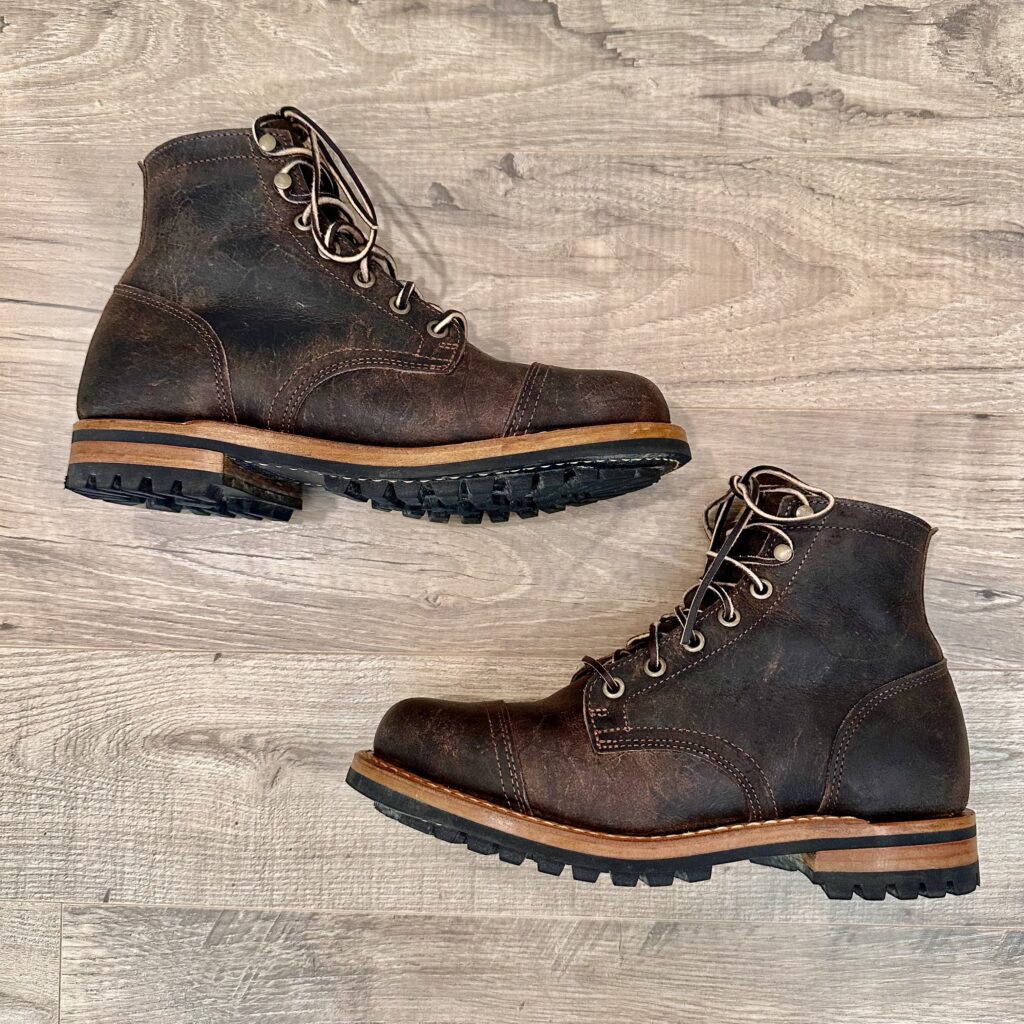
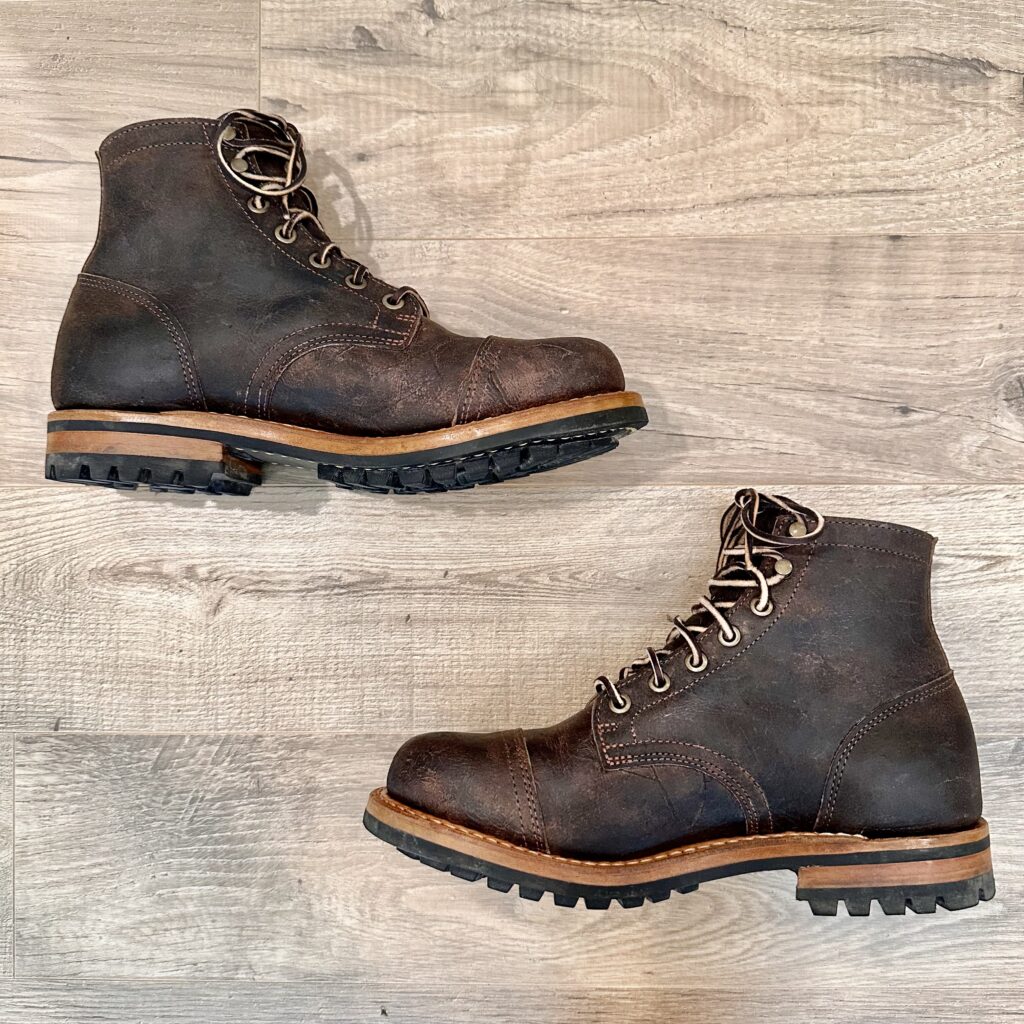
My Waxed Flesh Boots After Waxing
I have the Truman Stone Rambler Boots that are made using a waxed flesh. Here are what mine looked like after my most recent waxing:


Why Waxed Flesh Leather Needs Special Care
Waxed flesh leather is different from smooth leather because of the oils and waxes worked into the fibers.
- It resists water better than untreated leathers
- It can handle brushing and rugged use
- It develops a strong patina over time
Because of this, smooth-leather creams and conditioners are the wrong choice. They can clog the nap and strip away the protective wax layer. For the best results, waxed flesh boots need a grease or wax designed specifically for them.
Step 1: Remove Laces
Start by removing the laces. This makes it easier to reach the tongue and prevents dirt or wax from building up around the eyelets.
Step 2: Cleaning Waxed Flesh Leather Boots
Basic Brushing
Use a medium-coarse horsehair brush to remove dust and dirt from the surface, tongue, and welt. Apply firm pressure—waxed flesh leather is rugged enough to handle it. Pull back the quarters to reach hidden spots around the tongue.
Welt Cleaning
The welt collects the most dirt. A stiffer angled brush is helpful, but another simple option (as I mentioned earlier) is a toothbrush or a horsehair brush shaped like a toothbrush. These smaller tools let you get into the tight areas where grime settles.
Spot Cleaning
If a mark won’t brush out, you can *carefully* use a suede eraser or crepe block to lift sticky or greasy spots without harming the nap.
Cleaning the Soles and Welt Leather
For the smooth leather parts like the welt or sole edges, apply a small amount of saddle soap with a damp rag. Work it into a light lather, then wipe it clean. If you don’t like saddle soap, you can also use a very lightweight conditioner (like Bickmore Bick 4) to condition the leather welt (just don’t use the Bick 4 on your waxed flesh leather).
Step 3: Applying Wax
Choosing the Best Wax for Waxed Flesh Boots
There are two main options for re-waxing. Hard wax blocks, like Greenland wax, work by rubbing the block on the leather and using heat to set it. While effective, it’s slow and requires extra equipment (I just think this is not the best option).
Instead, I like to use Dubbin wax to treat waxed flesh leather. Usually beeswax-based, it is soft, easy to apply with the fingers, and penetrates deeply. Dubbin conditions the leather and provides the same protection without the hassle of melting in a block wax.
Application Method
Work the Dubbin directly into the leather with your fingers (wear vinyl gloves if you prefer). Unlike smooth leather, where light applications are best, waxed flesh benefits from a heavier coat (more is more). Apply generously, let it soak in, and don’t worry about overdoing it. The leather can take it.
Step 4: Conditioning the Welt
The welt and sole edges need care too. A colorless shoe cream can be used, but Dubbin works here as well. Keeping these areas nourished prevents them from drying out and cracking.
Step 5: Buffing and Brushing
After the wax has soaked in for 10 to 15 minutes, brush the boots with a clean horsehair brush. This pushes the wax deeper into the fibers and evens out the finish. A soft cloth or towel can also be used to bring up a subtle shine.
Step 6: Relacing
Once dry, re-lace the boots. The leather should look richer, darker, and ready to face the elements.
Waxed flesh leather boots are durable and full of character, but they require the right approach to care. Dubbin wax is my choice because it’s easy to use, penetrates deeply, and protects the leather without the hassle of hard wax blocks.
With regular brushing, generous waxing, welt care, and occasional weatherproofing, waxed flesh leather boots will stay strong, water-resistant, and stylish for years.